When a storm hits, one of the most vulnerable areas of your home is the roof. Strong gusts of wind can cause significant damage to your roofing materials, potentially leading to leaks, structural issues, and costly repairs. In this blog post, we’ll discuss how to repair a wind damaged roof and take steps to prevent future problems.
Assessing the Damage
The first step in repairing a wind-damaged roof is to assess the extent of the damage. This will help you determine the best course of action and whether it’s something you can handle yourself or if you need to call in professional help. Be sure to check for:
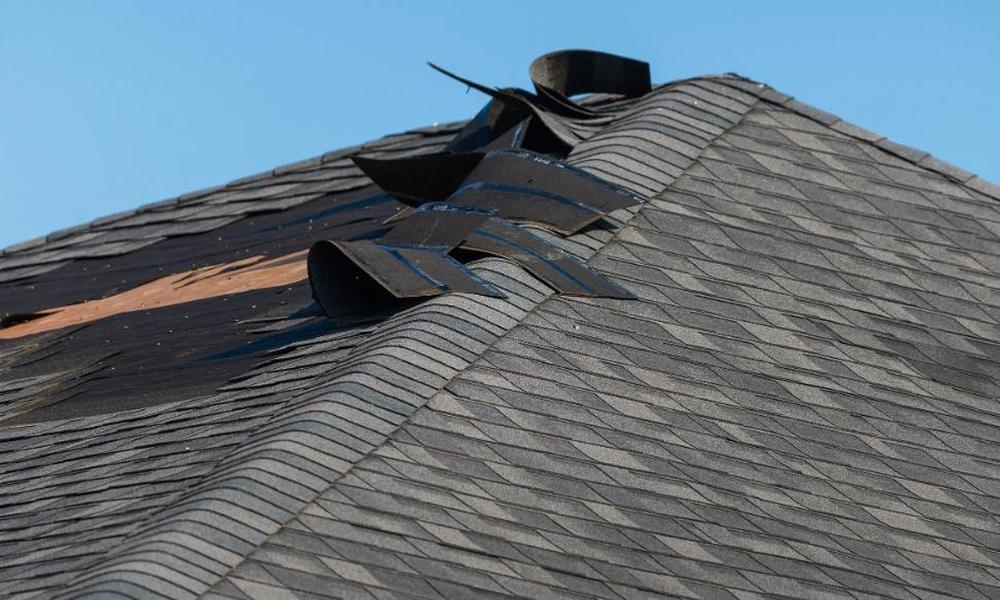
- Missing or damaged shingles: High winds can cause shingles to lift, crack, or be torn off entirely. Look for any signs of damage, such as curled edges, missing granules, or exposed nails.
- Damaged flashing: Flashing, the metal strips that seal gaps around chimneys, vents, and skylights, can also be damaged by strong winds. Check for any signs of bending, warping, or tearing.
- Debris: After a storm, it’s common for debris, such as tree branches, to end up on your roof. Be sure to clear away any debris to prevent further damage and to assess the state of your roofing materials.
Repairing the Damage
Once you’ve assessed the damage, it’s time to begin repairs. Depending on the extent of the damage, you may be able to handle some minor repairs yourself. However, for more severe cases, it’s best to call in a professional roofing contractor to ensure the job is done correctly and safely.
Minor Repairs: For minor wind damage roof repairs, such as replacing a few missing or damaged shingles, you’ll need a few basic tools and materials:
- Roofing nails
- Hammer
- Pry bar
- Replacement shingles
- Roofing cement
To replace a damaged shingle, carefully lift the surrounding shingles with a pry bar and remove the nails holding the damaged shingle in place. Slide the new shingle into position and secure it with roofing nails. Apply a small amount of roofing cement to the nail heads and edges of the shingle to seal it in place.
Major Repairs: For more extensive damage, such as large sections of missing shingles or damaged flashing, it’s best to call in a professional roofing contractor. They’ll be able to assess the extent of the damage and recommend the appropriate repairs or replacement. In some cases, if the wind damage is severe enough, it may be necessary to replace the entire roof.
Preventing Future Wind Damage
After repairing your wind damaged roof, it’s essential to take steps to prevent future issues. Here are some ways to reinforce your roof against strong winds:
- Upgrade your roofing materials: Consider upgrading to more durable roofing materials, such as architectural shingles or metal roofing. These materials are designed to withstand high winds and are less likely to be damaged during a storm.
- Secure loose shingles: Regularly inspect your roof for any loose or damaged shingles, and secure them with roofing nails and cement as needed. This will help prevent them from being lifted by the wind and causing further damage.
- Install wind-resistant flashing: If your existing flashing is prone to damage, consider upgrading to a more wind-resistant material or having it professionally installed to ensure a tight seal.
- Trim nearby trees: Keep tree branches trimmed back from your roof to prevent them from causing damage during a storm. Additionally, remove any dead or dying trees that could potentially fall on your home.
The Bottomline:
Recovering from a wind damaged roof requires assessing the damage, making the necessary repairs, and taking steps to prevent future issues. By being proactive and addressing minor issues before they become severe, you can minimize the impact of wind damage on your home and ensure your roof remains strong and secure for years to come.